
I never thought that my pictures of my DIY home office would grab so many people’s attention. I felt so flattered because we didn’t think we were making anything out of the ordinary, specially giving our small budget for it. I wanted to share the process and the products we used because I think everyone should have a place at home that they love and feel comfortable working in, specially nowadays.
Building a home office was never in my plans. But neither was working from home, or building a photography business, and here I am. When the pandemic hit and the days became weeks, and the weeks became months, everyone at home was feeling a little “resentful” because I had taken over the kitchen counter and my clutter, the piles of files everywhere, receipts, bills, and camera equipment all around where robbing us from the joy of being home. It was hard to stay organized when there was no rhyme or reason to the madness.
The Idea:
Then I heard the sweetest words I’ve heard in a while…. “what if we build you a home office?” My immediate thought was “cha-ching! that’s going to cost a lot of money!”, but my sweet Josh did all the research he needed to do to make sure we could do something nice with a small budget. We agreed to $700-$800 for everything, including the desk.
I am a budget freak. It’s bad, which I think it’s good? I budget for everything: food, dining out, hair cuts, car maintenance, everything! I owe it to Dave Ramsey (if you don’t know who he is, you need to look him up!) so I was very adamant to stay within this budget. That was the deal!
The Space:
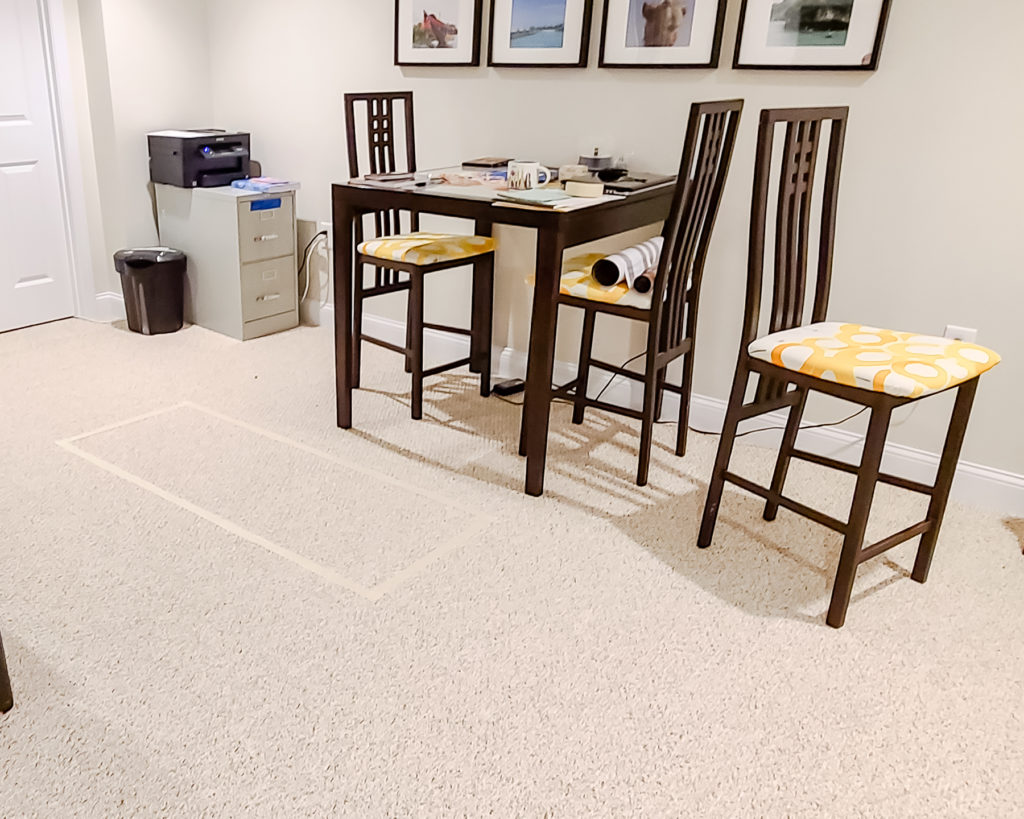
We had a nice blank canvas to start with. Our basement is partially finished, and it was already painted, carpeted and it has great recessed lighting. I get no natural light at all, so it was important that I didn’t feel like I was in a basement. The space we had to work with was about 15.5′ by 9′ (we still needed to leave room for the couch and TV, I knew I couldn’t just claim the whole space LOL)
The Plan:
Josh’s research lead us to the best solution to stay within budget: IKEA! I am a fan of Ikea for closet systems. We’ve used the Billy bookcases for every closet we’ve had, but I wasn’t sure about how it would look as an actual bookcase. They are plain and boring. Nothing fancy about them. But when you add crown molding and some trim, you can make them look REALLY NICE and still be affordable!
This is the Ikea combination we used:
Two – White Billy Bookcases (31 1/2x11x79 1/2″) = $40.00 each. Total: $80
Two – White Brimnes Cabinet with doors (30 3/4 x 37 3/8″) = $80.00 each. Total: $160
And this is the rest of items:
One- Ine Solid Wood White Desk from Wayfair = $320 (I don’t think Wayfair carries it anymore, but this desk style is called “sawhorse”
Five- AZEK 0.75-in x 1.5-in x 8-ft Trim Board PVC Board from Lowe’s = $10 each. Total: $50
One – AZEK 1-in x 3.5-in x 12-ft Trim Board PVC Board from Lowe’s = $34
One – 3-5/8-in x 16-ft Primed Crown Moulding = $33
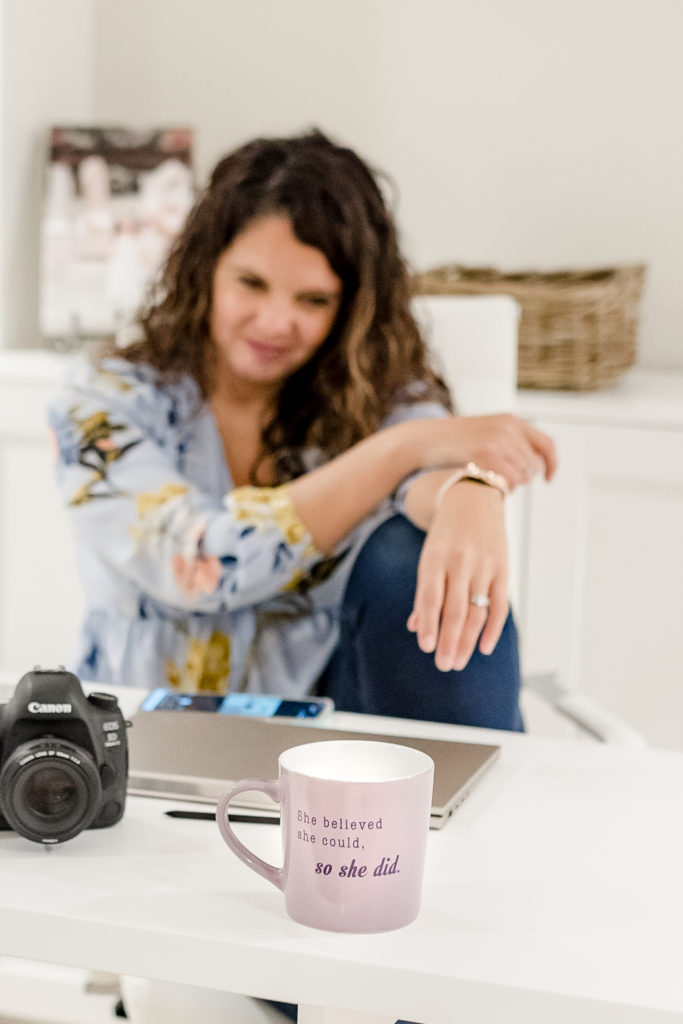
I didn’t include the desk chair I bought in the budget because I didn’t consider it part of the building process, but this is the one I got and I am pretty happy with it!
The Process:
Once we got all the orders in, Josh got to work! Ever since we sold our house and moved into a condo, he’s been itching to work on projects, so working with power tools again made him happy! 🙂
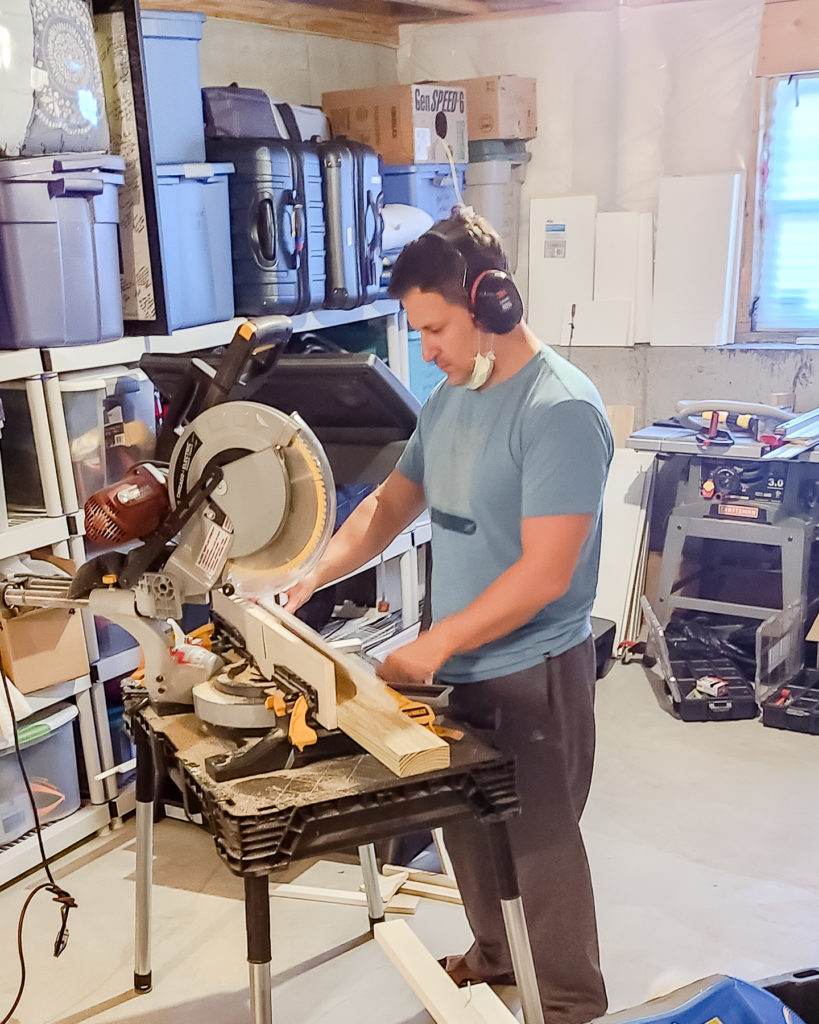
It definitely helped having all the tools (and the handyman!) because we didn’t need to rent anything. or hire anyone!
At this point, he’s a pro at building the Billys. This may be the 8th or 9th bookcase we’ve bought!
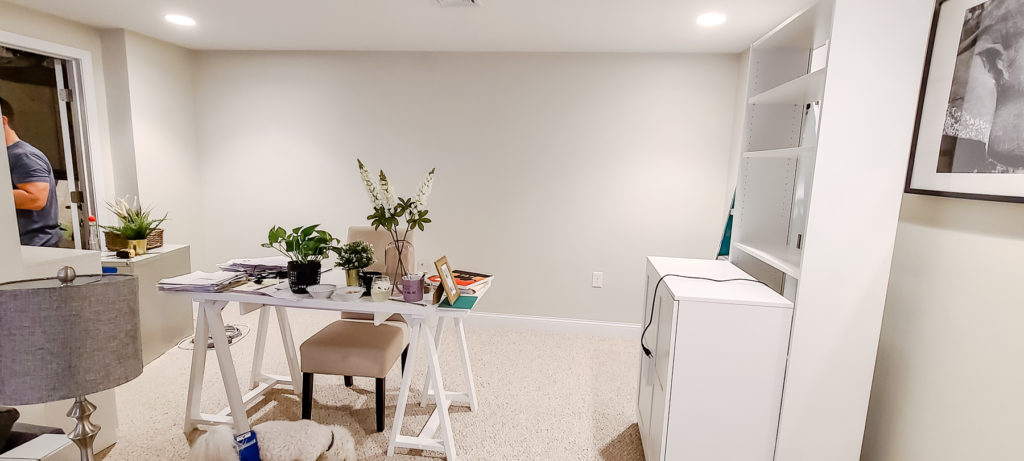
Our blank canvas
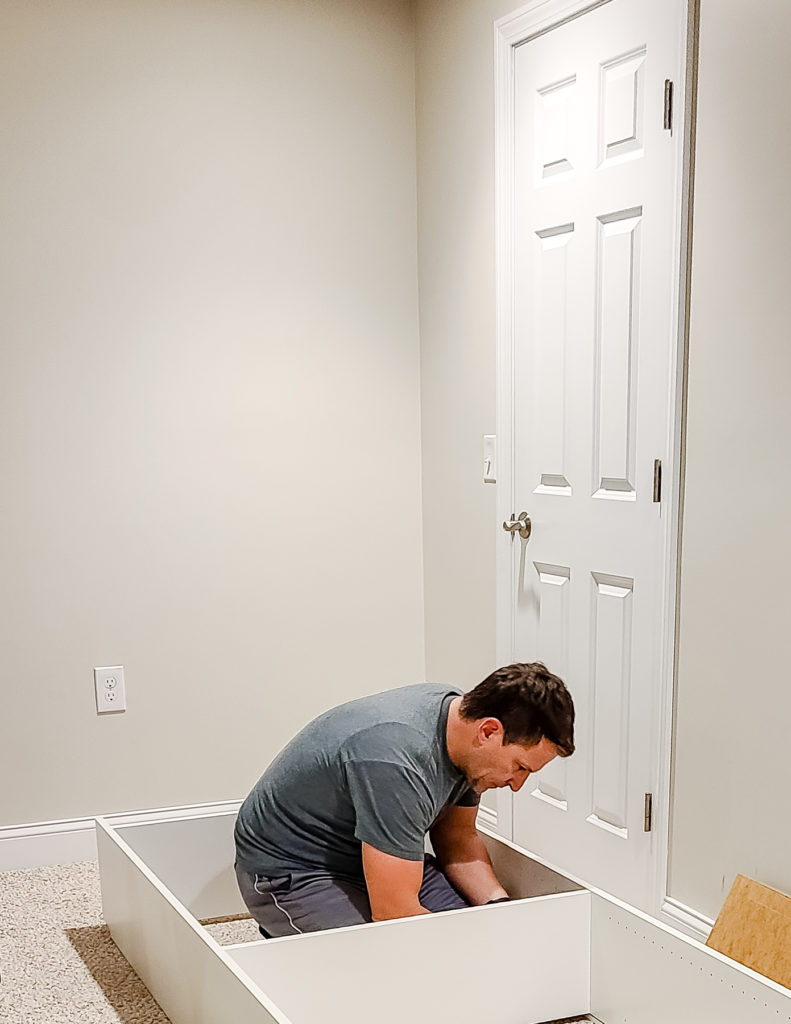
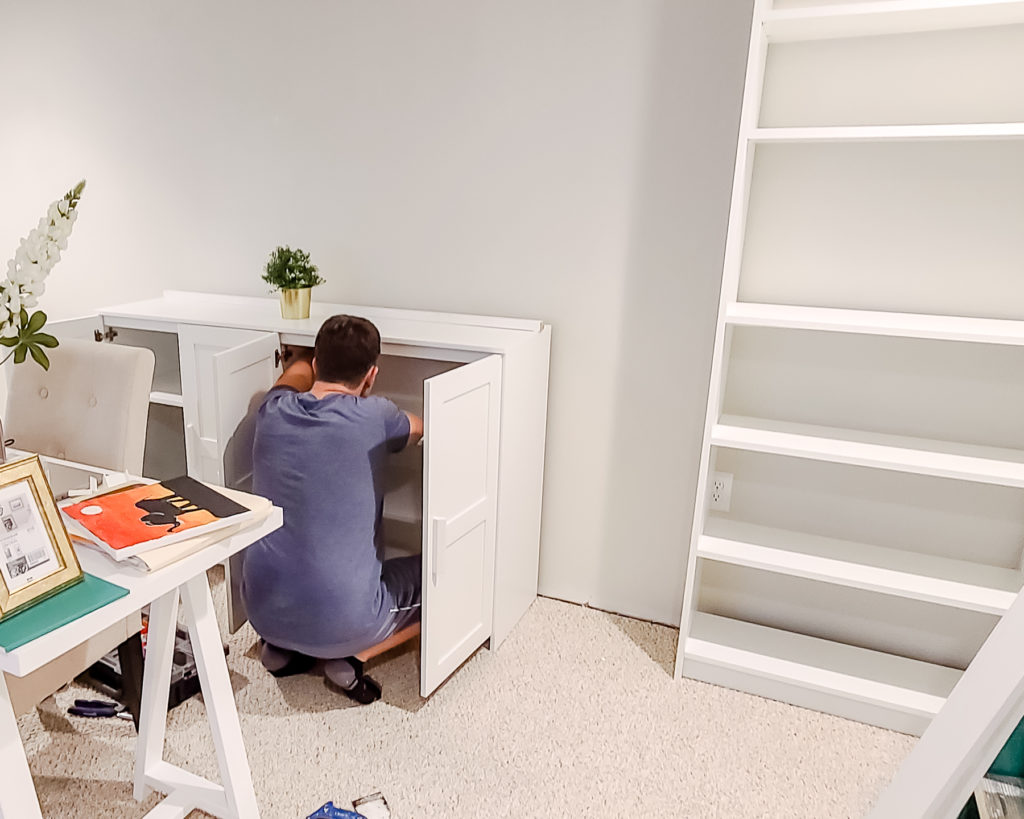
When all the cabinets were built, we started attaching them to the walls. We started from the center out. The Brimnes cabinets sit side by side, and we bumped them out about 0.5″ inches away from the wall to allow room for the printer cable that would sit inside one of them. He secured them to each other with small screws on the inside and used long screws to secure them to the wall. This leaves a little gap between the cabinet and the wall. We could have put a piece of trim to cover it, but we kind of like it like that. It gives is a shadow that creates depth.
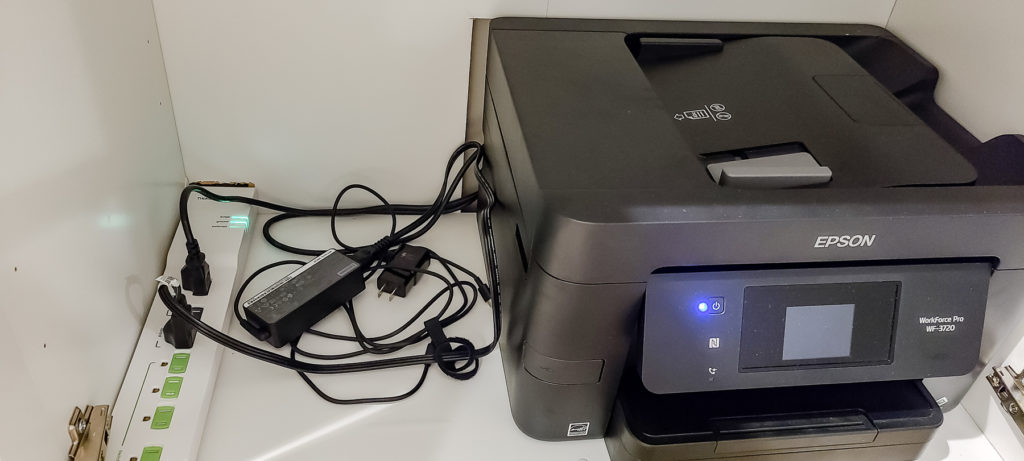
Tip: A normal home printer will not fit inside the cabinet without sticking out, so by leaving the clearance from the wall, we cut an opening in the back of the cabinet (he used a utility knife) so we could push the printer back and allow it to breath and run the power cable to the outlet! He also installed a power strip for me to keep all my chargers in one place.
After securing the Brimnes, he then attached the Billys to each side. They were secured to the wall and to the Brimnes using small screws. This whole thing is solid! It does not rock or move or shake. Ikea cabinets may look flimsy, but with enough screws, you get a long-lasting piece of furniture that does not break the bank.
The Finishing Touches:
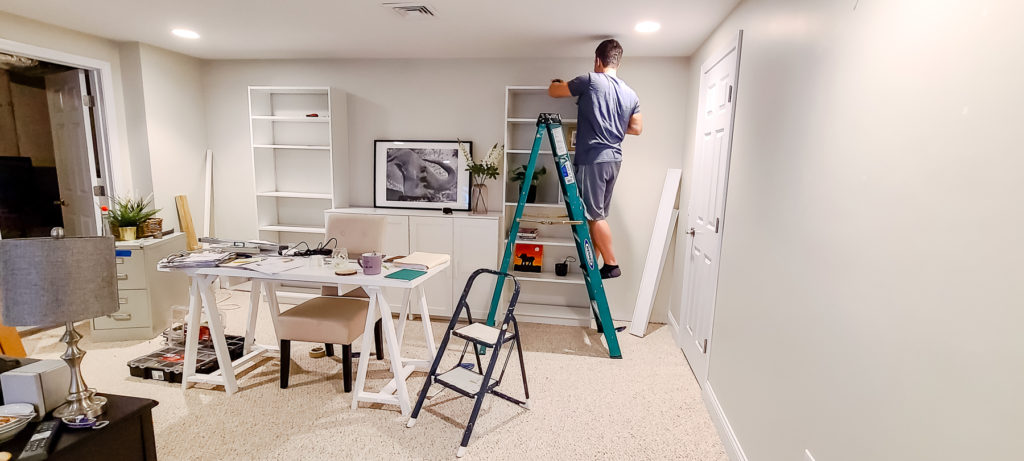
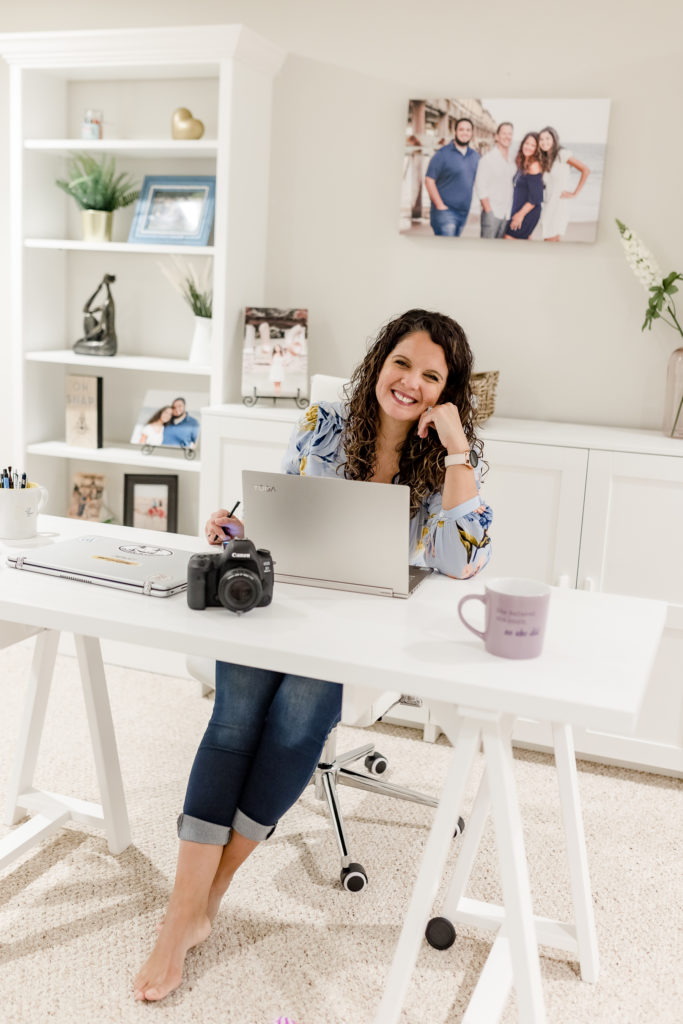
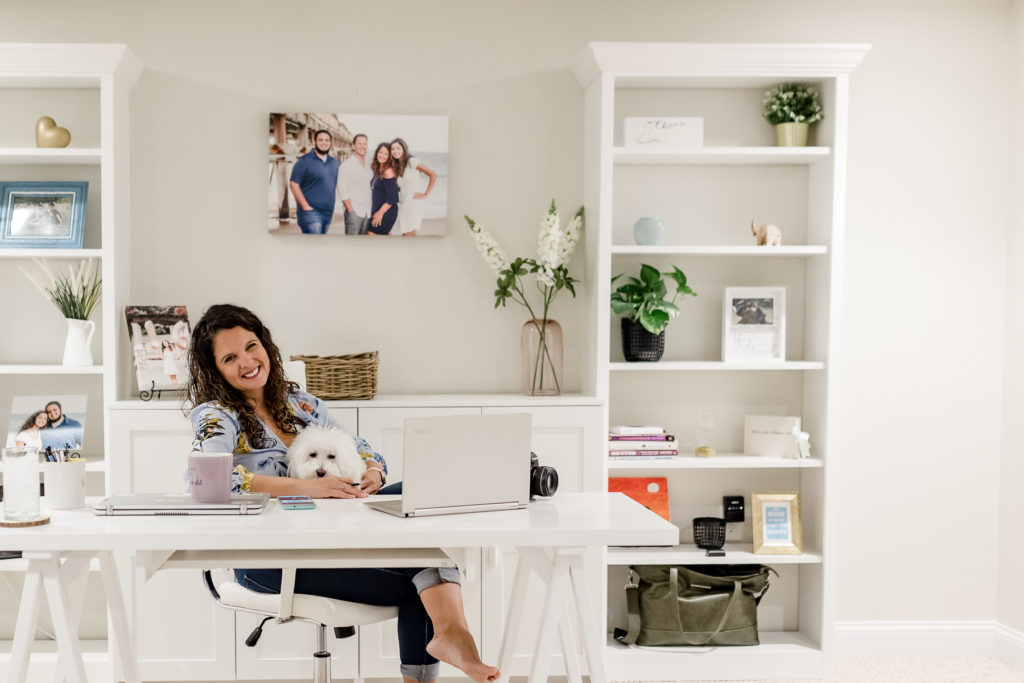
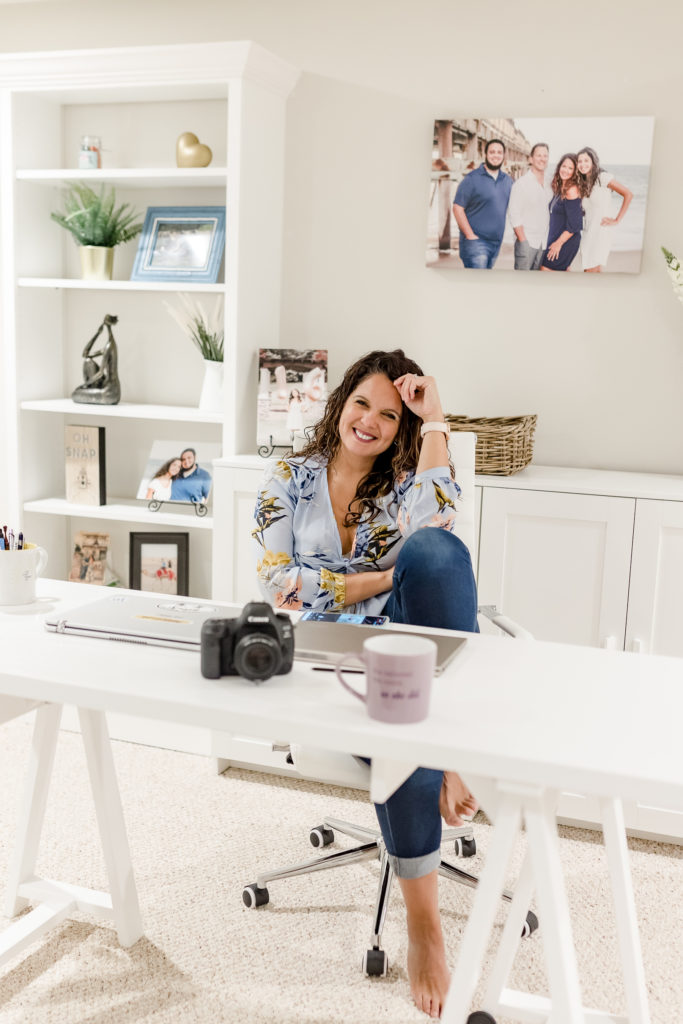
Let’s be real. Just like this, they look like Ikea cabinets. They are ok, but they don’t scream “fancy” or “cozy home office”. We have built-ins in our living room, so we totally copied the style: we added trim to the sides, top and bottom of the Billy bookcases, and we added crown molding to the very top. What a difference that made! The Azek trim made the bookcase look -and feel, way sturdier than they are! Josh used a finishing nail gun to attach the trim. The 3.5″ trim covered the top and bottom of the bookcase, and the 1.5″ covered the sides.
The Crown molding was a different animal. Josh started winging it and he ruined the first board (ugh.) A little more research lead him to this video that gave him a great hack to create a cheap jig for making the corners! (he showed it to me, and I felt the way he does when I talk about photography lingo -LOST!). So I let him do his thing, bought another board, and it was perfection!
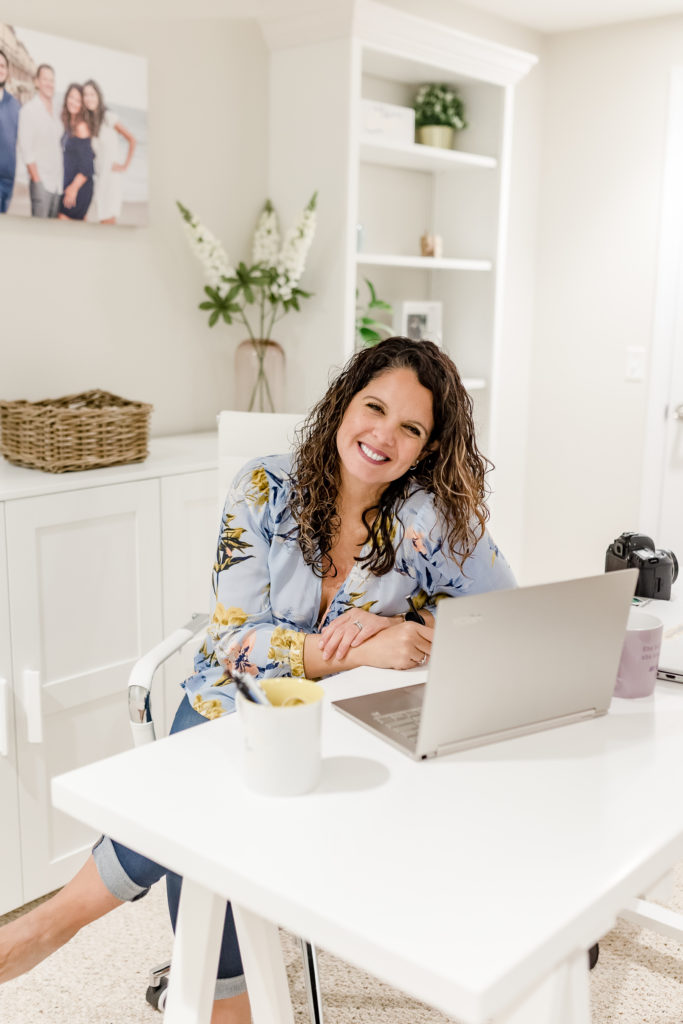
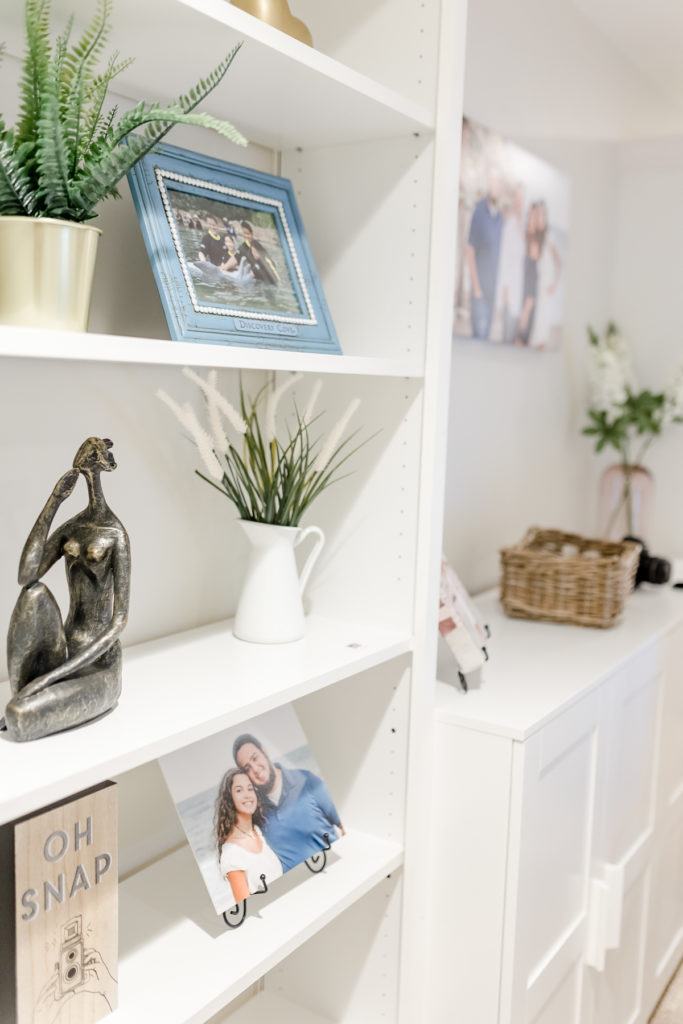
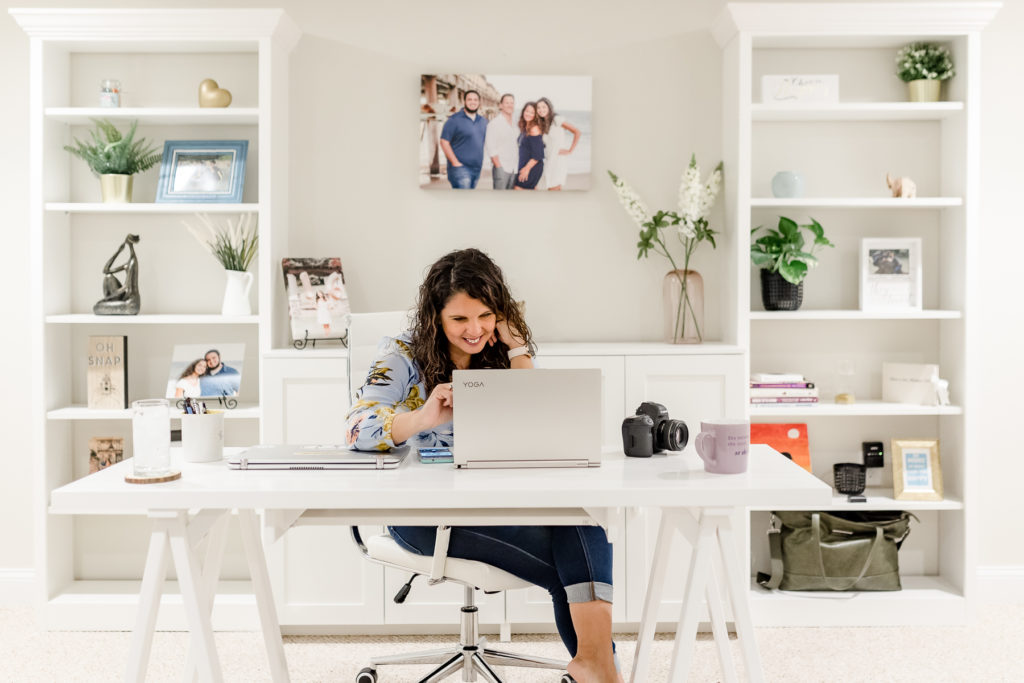
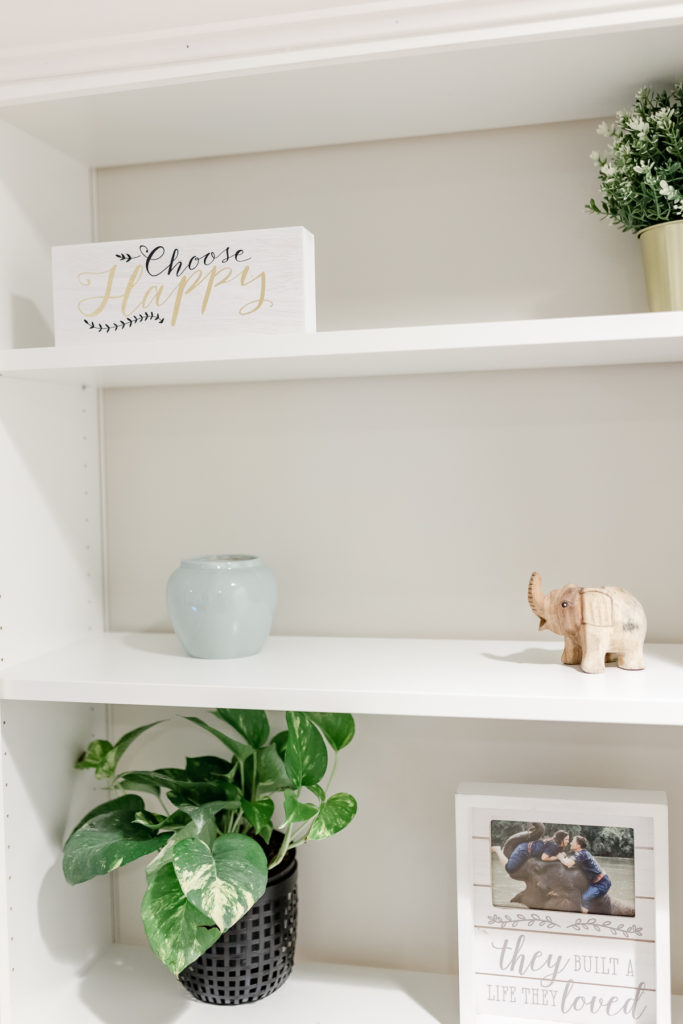
Add some decorations, frames, flowers, baskets, plants, and voila! I was shocked when I was approached by other professionals wanting to use this space for their own branding session… yes please! I’ll be happy to do that for you 🙂
I couldn’t be any happier with the results! This is a space that feels clean, bright, beautiful, and organized. I am able to display some of my printing samples, family photos, and quotes that I love. I come down here every morning with all the energy I need to feel productive. I can easily disconnect from the world when I am working my butt off, but still feel connected to what I love the most: my family and the beautiful home we created together. All within my budget!
Leave a Reply

The FREE Guide
engagement PHOTOS
5 Tips to elevate your
ENGAGEMENT PHOTOS
the free guide
GRAB YOUR FREE GUIDE
A lot of people ask me how they can make their engagement portraits feel elevated. And after helping my couples prepare for their session, I have discovered some helpful tips to take your engagement session to the next level! Grab your free guide and feel like million bucks!
prepare for your engagement photos
A FREE GUIDE TO HELP YOU
Stress-Free
Join the fun
See how beautiful Rhode Island (and all of New England for that matter) can be! Head over my IG and let's be friends!
Join ME on Instagram
let's be friends!


Wow, wow, wow! The end result is beautiful !
Thank you SO MUCH!, Alyssa!